Cách vệ sinh và kiểm tra bụi bám vào cảm biến hình ảnh Sony Alpha
Khi tháo lắp ống kính, bụi có thể lọt vào bên trong máy ảnh và dính vào cảm biến hình ảnh. Bụi bám vào có thể xuất hiện trên ảnh chụp và nếu không được loại bỏ, bụi sẽ tiếp tục xuất hiện trên cùng vị trí của tất cả các ảnh của bạn.
Chúng tôi sẽ giải thích phương pháp kiểm tra xem có bụi bám vào cảm biến hình ảnh hay không và cách vệ sinh.
Cách kiểm tra bụi bám vào cảm biến hình ảnh
Để kiểm tra xem có bụi bám vào cảm biến hình ảnh hay không, hãy chụp ảnh bức tường hoặc tờ giấy trắng hoặc bầu trời không mây.
- Đặt vòng điều khiển ở mode A (Ưu tiên khẩu độ).
- Đặt Khẩu độ khoảng [F11] và chụp vài bức ảnh tường hoặc tờ giấy trắng hoặc bầu trời không mây.
- Sau khi chụp, hãy kiểm tra ảnh trên màn hình LCD của máy ảnh.
Nếu có bụi bám vào, các vết đen sẽ xuất hiện trên tất cả các bức ảnh trong cùng một khu vực.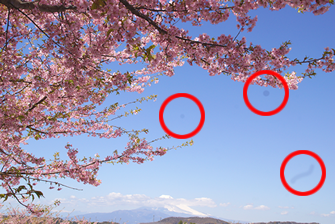

- If dust appears on the same area, perform cleaning of the image sensor with the following method.
Cách vệ sinh cảm biến hình ảnh
Nơi sẽ làm vệ sinh cảm biến hình ảnh: Khi làm vệ sinh, nên thực hiện trong phòng kín, nơi không có gió hoặc bụi.
Chuẩn bị các vật dụng:
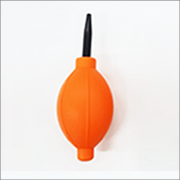
Bơm tay xịt bụi: Dùng để thổi sạch bụi bám trên thân máy và bên trong máy ảnh.
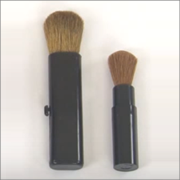
Chổi quét bụi: Dùng để phủi bụi bám trên thân máy và ống kính máy ảnh. Nên sử dụng cả chổi lớn và nhỏ để làm sạch ống kính.
You can check the following cleaning method in this movie.
E-mount cameras
A-mount cameras
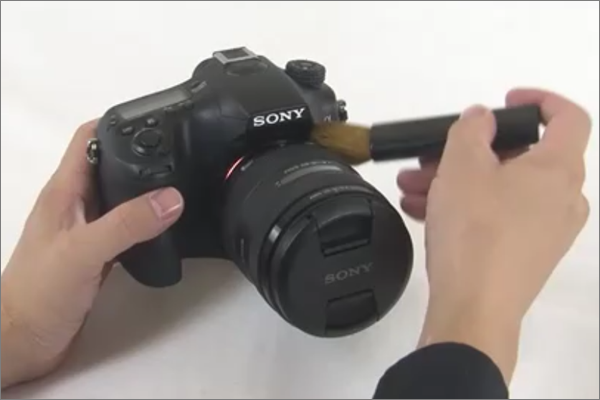
STEP 1 Clean the periphery of the lens
Remove the dust from the periphery of the lens before cleaning.
- Lightly remove the dust on the entire camera body with a brush.
- Blow off dust from the delicate parts of the camera using a blower.
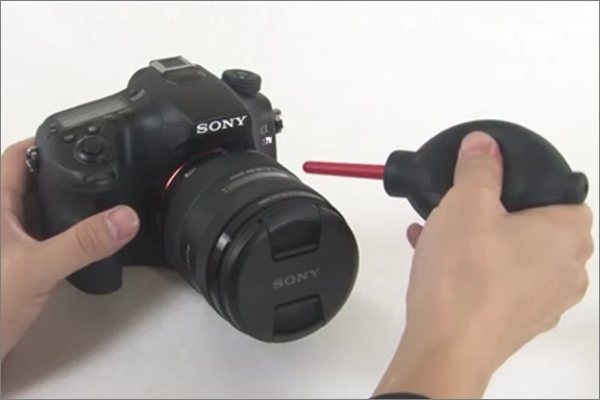
- Remove the lens front cap and blow off dust on the surface of the lens using a blower.
- Attach the lens front cap to prevent dust from getting attached to the lens.
STEP 2 Clean using Cleaning Mode
Perform cleaning using the Cleaning Mode function* equipped on the camera.
*See ”  STEP 3 Clean using a blower ” for cameras that are not equipped with the Cleaning Mode function.
Notes :
Cleaning can be performed only when the battery level is  (3 remaining battery icons) or more.
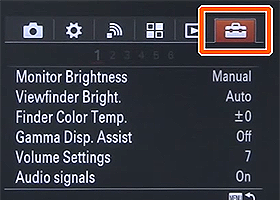
- Turn on the camera power and select [Setup] from the menu screen.
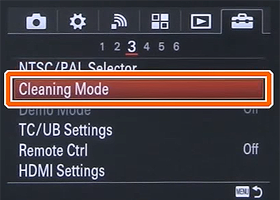
- Select [Cleaning Mode] from the [Setup] list and select [Enter] to start cleaning automatically.
- You can recheck if dust appears with ” How to check for dust attached to the image sensor “.
If the dust has not been removed, try cleaning using a blower as seen on STEP 3.
STEP 3 Clean using a blower
Notes :
- Do not subject the product to any shock during cleaning.
- If you scratch the image sensor, you will have to pay for repairs, so it is advised that cleaning be performed with care.
Detach the lens and clean the image sensor.
Procedures may vary depending on the camera model. Select your camera model.
STEP 3 Clean using a blower (E-mount cameras)
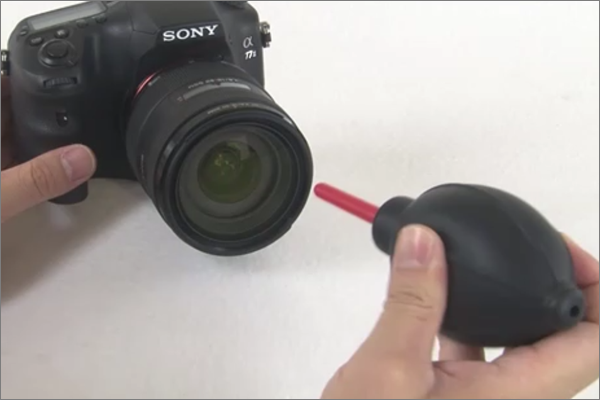
- Turn off the camera power.
Detach the lens. Use the blower to clean the image sensor surface and the surrounding area.
Perform cleaning with the front side of the camera tilted slightly downwards so it will be easier for the dust to be removed.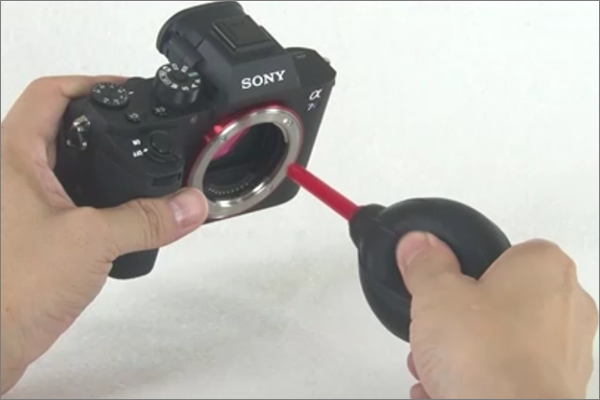
Notes :
- Be careful not to touch the image sensor surface.
- Do not put the tip of a blower into the cavity beyond the lens mount area, so that the tip of the blower does not touch the image sensor.
- Attach the lens to the camera.
- You can recheck if dust appears with ” How to check for dust attached to the image sensor “.
Releasing the shutter several times may drop the dust. In this case, perform cleaning using the blower again.
If the condition does not improve even after cleaning :
If dust is not removed even after cleaning with this procedure, please contact Sony’s < Service Centre >.
STEP 3 Clean using a blower (A-mount cameras)
- Turn off the camera power.
Detach the lens. Use the blower to clean the image sensor surface and the surrounding area.
Perform cleaning with the front side of the camera tilted slightly downwards so it will be easier for the dust to be removed.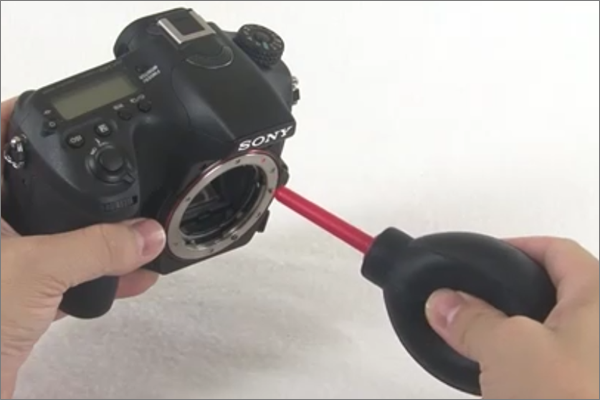
Notes :
- Be careful not to touch the image sensor surface.
- Do not put the tip of a blower into the cavity beyond the lens mount area, so that the tip of the blower does not touch the image sensor.
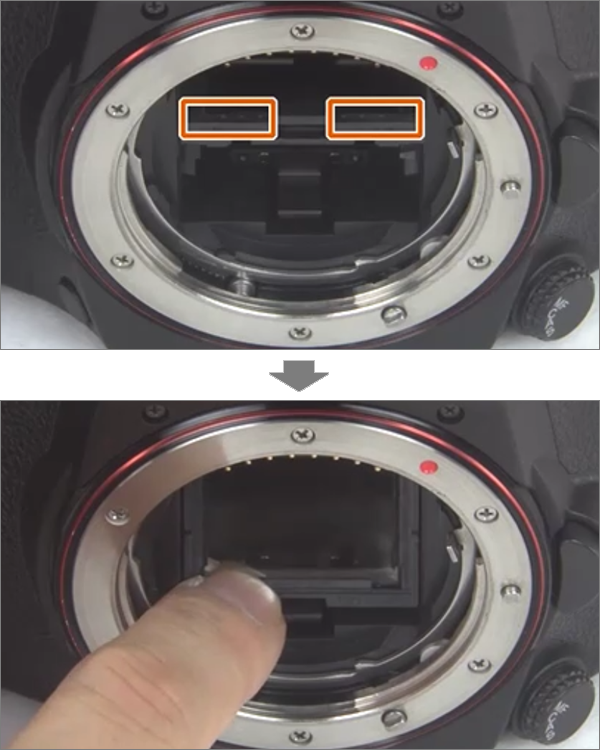
- Press down on the mirror lock lever with your fingers and pop up the mirror.
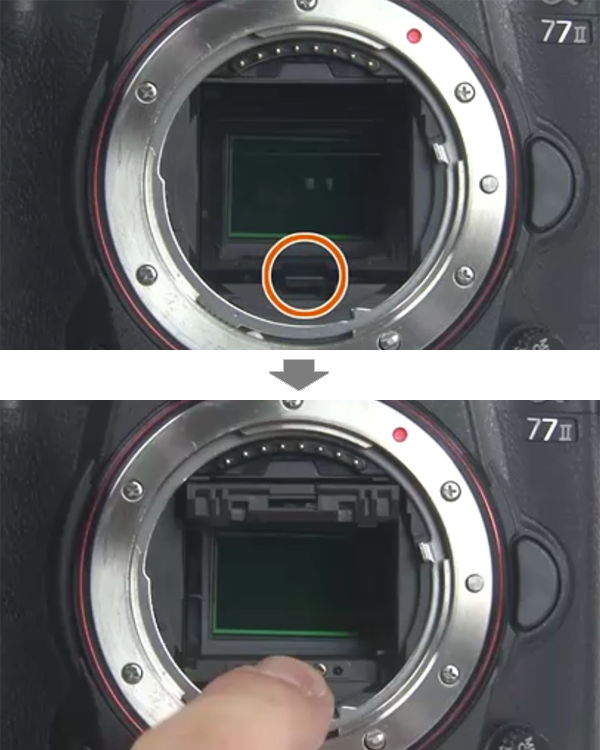
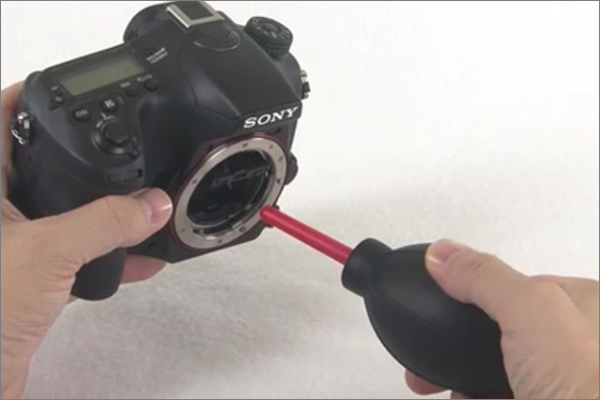
- Tilt the front side of the camera downwards so it will be easier for the dust to be removed then blow the dust off with a blower.
Notes :
- Be careful not to touch the image sensor surface.
- Do not put the tip of a blower into the cavity beyond the lens mount area, so that the tip of the blower does not touch the image sensor.
- After cleaning, press down on the mirror frame portion until you hear a click.
Notes :
- Be careful not to touch the lens contacts and mirror surface.
- When you attach the lens after you finish cleaning the image sensor, confirm that the mirror has been completely pushed down. Otherwise, it may damage the lens or lead to a malfunction. Also, if the mirror has not been pushed down completely, the autofocus system will not be able to achieve proper focus.
- Attach the lens to the camera.
- You can recheck if dust appears with ” How to check for dust attached to the image sensor “.
Releasing the shutter several times may drop the dust. In this case, perform cleaning using the blower again.
If the condition does not improve even after cleaning :
If dust is not removed even after cleaning with this procedure, please contact Sony’s < Service Centre >.